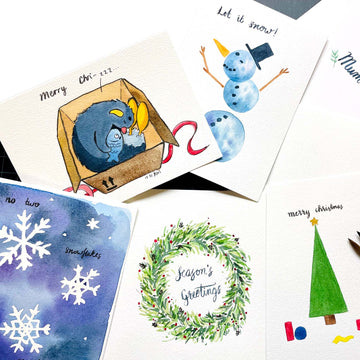
‘Tis the season, and while not everyone writes Christmas cards, it’s always a special time of year full of well-wishing and gift-giving! Even more so when you give something handmade.
This time, I’ll show you some quick and easy ways to spice up your holiday cards with – you guessed it – Etchr’s watercolour greeting cards! Let the merry-making begin…
1. Simple Shapes

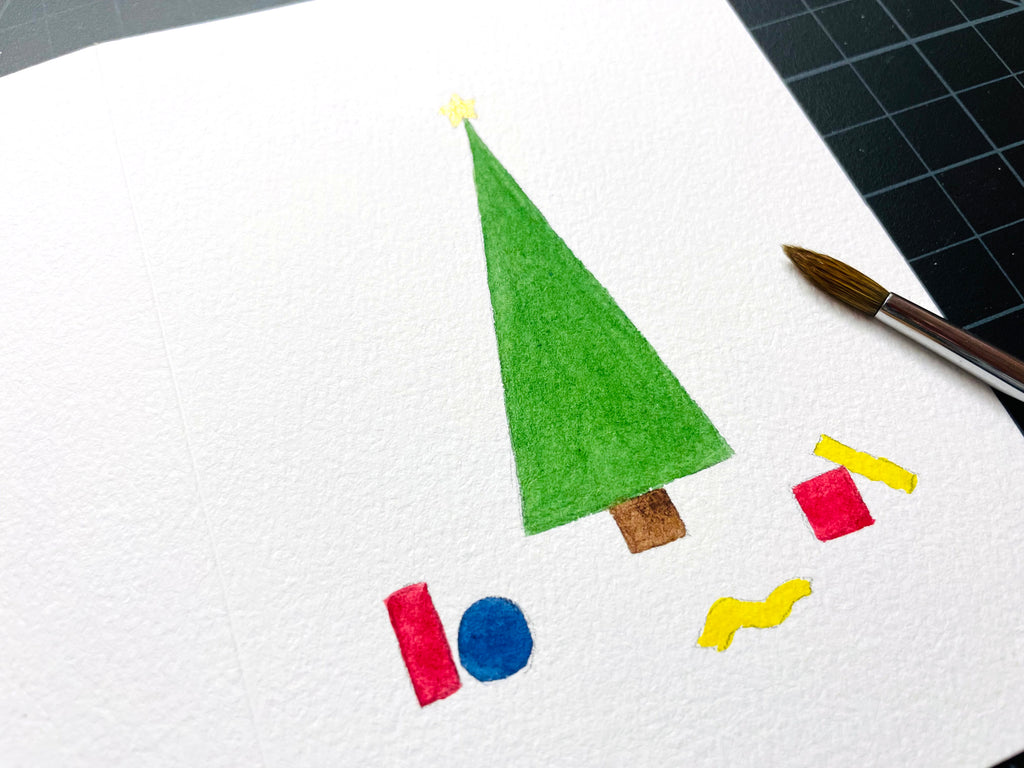
If you’re on a tight schedule, try blocking out some simple shapes in paint. For example, a triangle with a star on top becomes a Christmas tree, while two light blue circles with an orange triangle coming out of the top can be a snowman (add a few black dots for eyes and buttons!).
Bonus tip: The Etchr greeting cards are already scored down the middle to make them easy to fold in half, with the logo and paper information printed on one side.
While you can paint on either side, I recommend painting on the side with the printed information, as it’s technically the “front” of the paper. You can paint across the whole card, but keep in mind that the back is on the left, and the front is on the right.

Your shapes don’t have to be painted in solid colours either – you could do a bit of wet-in-wet painting for a fancier look. It is easy to do. Wet your shape with clean water and drop in wet paint. The paint will blend within the wetted surface, creating a very organic mixing.

Tip: Make sure to work on one shape at a time, allowing each one to dry before you paint another one on top. If you want the shapes to bleed into one another, then paint all your shapes together at once!

If you have a little more time and patience, try the glazing technique, where you overlap two different colours on top of each other, but only after the first layer of paint is dry. Because of the transparent nature of watercolour, the overlapped area will become a different colour, which can be pretty cool.
They don’t have to be different colours either – overlapping the same colour that’s a little more diluted than usual will create an overlapped area that’s a more saturated version of that colour!
Tip: Test your paints beforehand, as not all colours glaze well with each other. I recommend glazing colours that are similar to one another, such as red and yellow or blue and green.
2. Special Snowflakes

They say no two snowflakes are the same, so why not paint some for Christmas? While you could directly paint the shape of your snowflakes, I find that painting negatively (i.e. painting the spaces between and around the snowflakes) makes them look much more intricate and exciting! You’ll need masking fluid, though, and a synthetic paintbrush for it.

The great thing about masking fluid is that you can get a lot of detailing in the area you masked (learn more about masking fluid in this blog post). Another great thing to do is lightly draw snowflake shapes in pencil, then paint directly over these lines with the masking fluid.

After the masking fluid is dry, paint a wash of colour – any colour – over the whole area. Drop in other colours with the wet-in-wet technique again.
I recommend using darker hues to make your snowflakes stand out more. Also, don’t make your paper too wet here because it might disturb your masked areas and cause damage to the paper underneath.

Once your paint is completely dry, gently rub off the masking residue with your finger or a rubber pick-up remover. The masked areas preserve the layer underneath, which is why it works so well. If you still see pencil lines from your drawing, gently erase those away.
The great thing about this technique is that it works for other silhouette shapes, not just snowflakes.
How about a wintery scene with penguins walking through the snow under a starry sky? A reindeer making its way past some snow-covered cabins? The possibilities are endless.
3. Wonderful Wreaths
Do you want something a little fancier that doesn’t take much time? A wreath is what you need. They look complex yet are pretty easy to paint.

Draw a circle (in pencil) on your card, either using a compass or some other round object to trace. The circle will guide your wreath, so don’t draw it too close to the edge.
Next, decide if you want a ribbon or not. Sketch its outlines, looking at a reference picture of a wreath if you need it. Now you’re ready to paint!

For the leafy area, mix a light green using yellow and green (I mixed yellow ochre and sap green for an earthier tone). Then, paint tapered strokes angling outwards and inwards from the circle you drew. The circle acts as the centre line for your wreath.
Continue painting the leaves around the circle, angling them so they kind of encircle the inner circle. Vary the length, shape, and the occasional angle to keep things looking like organised chaos. Organised because the leaves point in a generally circular direction and “chaotic” because there’s still randomness.

When you finish with the first light green layer, let it dry, then add a layer of mid-tone green. After this layer dries, add a final layer of dark green, though try not to go overboard. You want your wreath to look thick but leave some “breathing room” of white.
Once done, paint the ribbon (if you added one) with red paint. Add shadows in the ribbon’s folds by mixing Payne’s Grey with your red for a deep red shade. If you don’t want to use red, gold is an excellent choice for some sparkle!

Lastly, add some details in your wreath – red berries, brown pinecones, white mistletoe berries… it’s all up to you. Get as creative as you wish. It would be cute to add a little message in the centre of your wreath, too.
Tip: For a video version of how to paint a wreath, check out this live demo recording by Anne Kostecki with Etchr Studio. She breaks it down and makes it easy to follow along, especially for a visual learner.
4. A Touch of Whimsy

If you have even more time on your hands, you could go a little more complicated and design a few Christmas characters for your cards.
How about a polar bear who opens a gift of a big fish under a bare (hehe) tree? Or a snowy owl who’s flying home for Christmas? Draw it in ink, add colour, or paint it in whatever style you like.

Whichever style of cards you end up painting, finish them off with a penned greeting on the front. I like to use my paintbrush here, but a brush pen or a fountain pen will do just as well if you don’t have one. Or use any pen that gets you the lines you want.
After the cover of your card is done, address the envelope to the recipient. You can also use a pen paintbrush here because the envelope is thick and absorbent enough to handle a bit of watercolour. We've got a great article on watercolour calligraphy if you want to learn more!
You can even decorate it with more watercolour shapes, but this depends on how much time you invest.

I hope I’ve given you plenty of ideas for your holiday greeting cards. Plus, I’m sure your friends and loved ones will enjoy a handmade card. Regardless, I wish you a fantastic Christmas and a Happy New Year from all of us at Etchr.
Do you make your own holiday greeting cards? What’s your favourite thing about this season? Let us know in the comments. Learn more about the creative process, plus get more tips by subscribing to our email newsletter. We’ll tell you about all the wonderful things happening with Etchr.


