Unmasking the Mask
One nifty tool that I discovered late in my watercolour journey was masking/artist’s tape. Not only does it instantly help with any paper warping problems, but it also helps you achieve a nice border around your artwork. This is beneficial, especially if you plan on framing it afterwards.
But how about taking an even closer look at this tool? It’s essentially a tool used for masking, and there are a few ways we can explore and use it in a more exciting way. So let’s dive right in, shall we?
Tools

Of course, we can’t start this experiment without masking tape itself. You’re welcome to use artist’s or masking tape – the latter is usually cheaper but is slightly sticker than the former.
Another option is washi tape, though I find that some washi tapes aren’t sticky enough. However, you can always make sure by testing it on your paper beforehand.
Other than that, you’ll need your watercolour kit – paints, brushes, and paper. And additionally, to add even more interest, get a craft knife and a cutting mat – you can use them to get more complex shapes! You can use scissors too, but they’re often best for cutting straight lines or a slight curve at most.
Warning: If you’re not an adult yet, make sure you have one nearby to supervise with the craft knife. It is incredibly sharp and can be challenging to handle if you’re not used to it! If there’s no adult nearby, or you have unsteady hands in general, then you can leave it out.
Masking Methods
Once you have all your tools, you can start exploring! There are several ways to approach this:
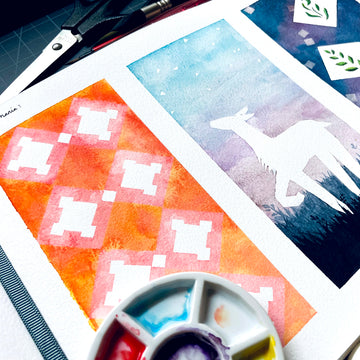
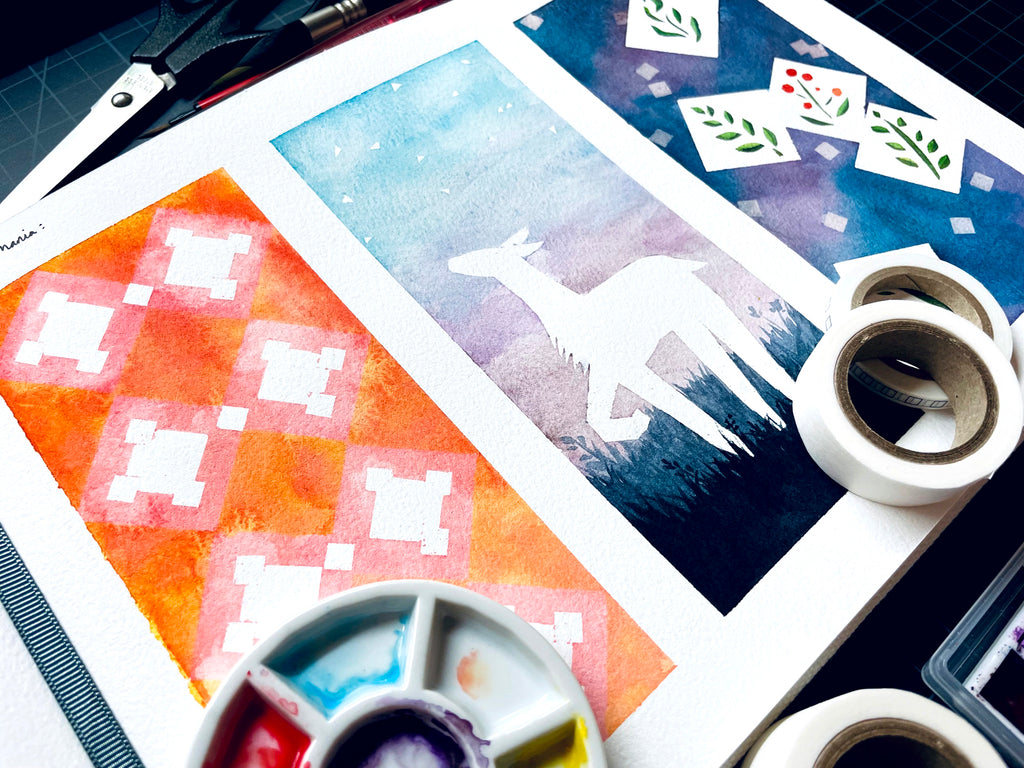
1. The pattern method

This is the easiest out of all the methods. It's pretty much just using the tape in its simplest form. You can cut out strips of tape to paint stripes or squares of tape and form a sort of chequered pattern or even triangles for a bit of flair.
Just remember that where you lay down your tape is where the paint can’t reach, so it's essentially doing negative painting for all the following methods that involve masking tape.
If you have perforated tape like I do, it helps in cutting down the cutting time! And you don’t necessarily have to arrange everything in a pattern; sometimes, a little randomness can look good, too.
2. The building method

This requires a little more skill, as you’re essentially drawing out more complex shapes with short lines plus a bunch of simple shapes. Make sure your scissors are sharp! You’re building up your smaller shapes to form a larger, more complex one, so take your time to cut out the right shapes.
3. The craft knife method

To do this, tape some of your masking tape onto your cutting mat and cut out the shape you want using the craft knife.
This works best if you have a wider gauge of tape (at least 1” or wider). And because the tape will still be sticky, you can re-stick it onto your watercolour paper and paint inside the shape you just cut out!
Just beware that any really thin lines or delicate shapes might tear when you transfer the tape. Be very careful when transferring and repositioning your tape.
Bonus tip: If you’ve got good control, you could try sticking the masking tape straight on top of your paper and gently cut out the shape before peeling it out and painting over it. It requires a steady and light hand, as you don’t want to cut the paper underneath accidentally.
As for your paints, you’re free to choose whichever colours you want, whether you’re blending them via the wet-in-wet technique or whether you’re using the colours as they are. You could even work in some depth by painting in layers!
You can do this by painting a layer of paint, let it dry, then tape off the areas you wish to keep that first layer of colour before glazing a different colour of paint on top.
(Make sure you’re glazing compatible colours, or they may clash! You can learn more about colour theory via this blog post.)
Tip: If you find that the paint is going under your tape, it probably means your tape isn’t sticky enough, or you didn’t press it down hard enough. And if all else fails, try using hot press paper instead of cold press. Hot press paper has a smoother surface and will lower the chance of letting the paint flow into the paper’s surface.
The Final Reveal

As always, the most satisfying part is peeling off the final layer of masking tape. Did it turn out as you hoped?
In a way, playing around with masking tape is pretty similar to lino-printing or screen-printing. It uses the same principles of negative space, plus each subsequent layer aims to add more colour and depth to the overall painting.
If you’re planning to paint a cool background, then that’s completely fine, too! You could always add a final subject in ink or detailed watercolour lines for something that looks pretty modern. You could also let the shapes you created speak to you more abstractly.
Last but not least, if you’re interested in different masking techniques, check out this blog post about masking fluid! And feel free to keep practising and exploring – that’s what makes us better artists, after all.
Have you tried using masking or artist’s tape in a wacky and creative way before? What is your favourite method of creating the shapes you want to mask? Let us know in the comments below!