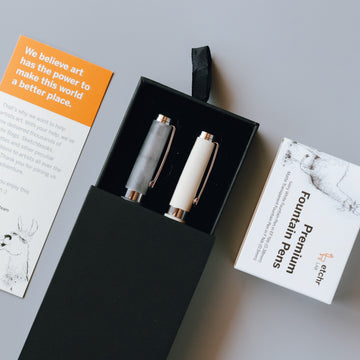
They’re here – one of Etchr’s latest art tool drops, the set of premium fountain pens! Whether you’ve had prior experience with a fountain pen or you’re just curious, you can learn more about this fantastic product right here.
I put the pens through their paces. So let’s take a closer look, shall we?
Two Pens, One Purpose

With Etchr’s fountain pen set, you get two pens – one that comes in a frosted translucent look and another in smooth ivory. Apart from the slightly different appearance, the frosted pen comes in a fine (F) nib, and the ivory has an extra-fine (EF) nib.
Otherwise, their inner mechanisms are pretty much the same. They both have a built-in piston converter, which means they can’t take ink cartridges and instead, you have to fill them using bottled ink.
Tip: While it’s tempting to experiment, it’s always best to use fountain pen ink for fountain pens! Other inks like drawing or India inks may clog up the nib or cause the ink to flow improperly.
Once you’ve found an ink you like, you can fill these fountain pens in the following steps:

-
Unscrew the pen’s end-cap and gently pull it out about 2mm. Make sure the plunger is twisted all the way up (i.e. by twisting clockwise).
-
Submerge the pen’s nib all the way in your ink bottle. It should be at least deep enough that Etchr’s llama logo has disappeared into the ink. Then, twist the end-cap all the way anti-clockwise to expel the air out of the pen’s barrel before slowly twisting it clockwise again to draw ink upwards into your pen.
You should be able to see this easily in the frosted pen, and for the ivory pen, there’s a small window to see the position of the plunger. -
Twist the end cap anti-clockwise one last time to squeeze five drops of ink back into the ink bottle. Then, push the end-cap down to click it back into place. Make sure that the arrow on the top line up with the holes inside the silver band!
-
Wipe off any excess ink on a dry rag or paper towel. Ta-da! You’re ready to draw or screw the cap back on if you’re not going to use it just yet.
That’s pretty much it in terms of filling your pen with ink. If you ever need to clean your pen or want to change the link, you’ll do the same thing but with clean water instead of ink.
You may need to draw in and expel the water several times before it’s clean enough, but once the water comes out clean, you’re ready to refill your pen with a different ink!
One Purpose, Multiple Manifestations
Once you get your fountain pens going, you’re welcome to use them for writing, drawing, or both. The main point is to use the pens to exercise your creativity!
To use the pen, hold it at a 45º angle from your paper with the nib front is facing out. You can try flipping your pen around so the nib front is facing you instead, which will give you much thinner lines. However, be aware it is easier to scratch your paper with the pen in this position, so be mindful of what you’re doing.
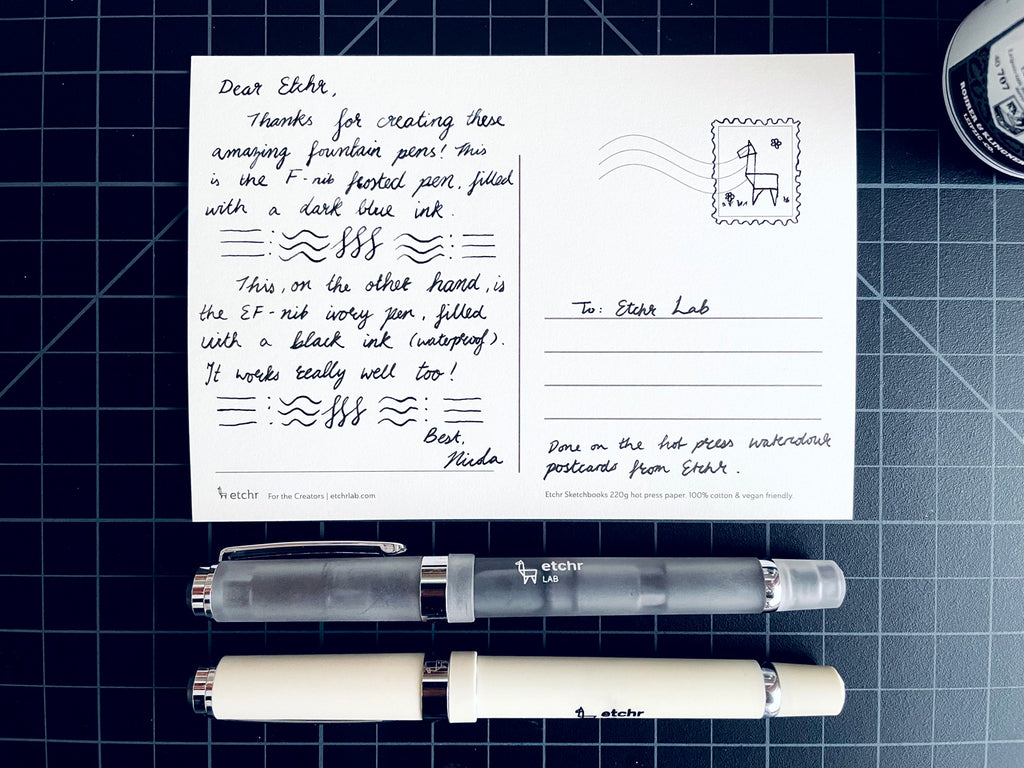
Both the F and EF nib have a slight flex, so you can get lines of varying thicknesses (the F more than the EF), which is what a traditional dip pen does.
The fountain pen was invented for convenience’s sake so users wouldn’t have to keep dipping their pen back into the ink bottle! Just try not to press down too hard, though, as the nib can bend or break under too much pressure.
Bonus tip: All calligraphers will say that good handwriting will have thick downstrokes and thin upstrokes, which makes sense as trying to put pressure on the upstrokes is difficult compared to the downstrokes. To learn more about how to do this, check out this blog post on watercolour calligraphy!
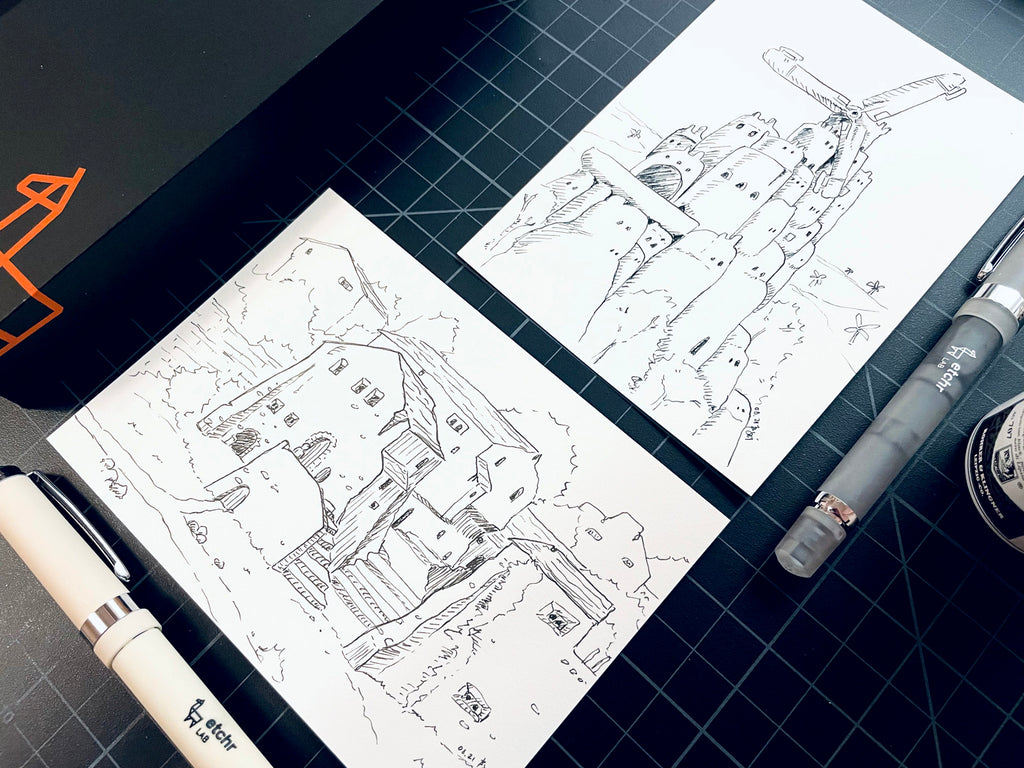
For sketching, you can give your drawings much more depth and character by varying the line widths, which is impossible to achieve with marker pens (unless you have different sized marker nibs to switch around).
As a general rule of thumb, you want to make things in the foreground pop with thicker lines while using thin, wispy lines for the background.
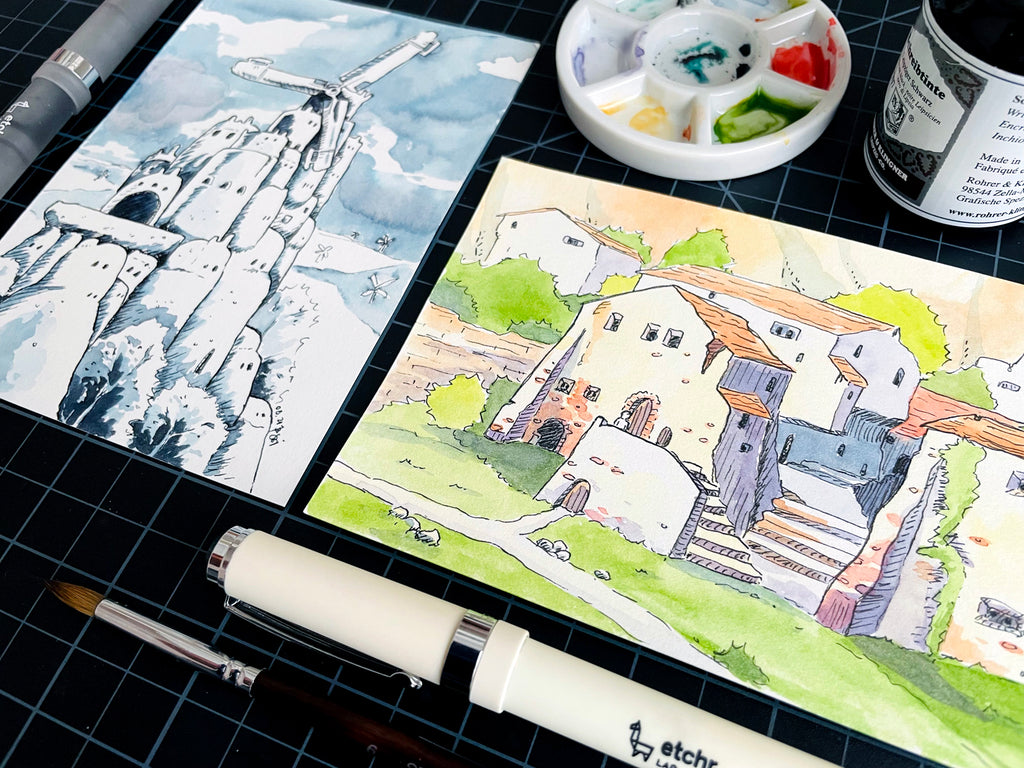
Using hot press paper is generally better for fountain pens because they work better on a smoother surface. If you want to try using it on cold press paper, you can, but be aware the nib may “skip” across the textured surface or cause pilling, especially if you press hard.
In any case, it’s always best to test your pen on paper before drawing for real!
Tip: Pay attention to where you put your hand while you draw. Depending on your ink, it could take 5-15 seconds for it to dry completely, so it’s best to work from left to right (or right to left for lefties) to prevent unwanted smudges!
Bonus tip: Because fountain pen ink needs to be smoother than other types of ink, it’s usually hard to find one that’s waterproof and doesn’t clog the nib. If your ink isn’t waterproof, and you plan on adding watercolour to your drawing, I recommend inking your linework after painting.
Alternatively, you can play with non-waterproof inks using a brush and clean water to spread ink lines in shadow areas. This technique brings out the true colours hidden in your ink and can look pretty cool to boot!
A Fountain of Possibilities
While I could wax on and on about the intricacies of fountain pens, it’s always more fun to find out for yourself! They’re super versatile and are more environmentally friendly than the disposable pens we often use.
Plus, these Etchr ones have the llama logo etched into the pens’ caps and nibs, which is a nice finishing touch! But for now, go experiment on your own. It’s always exciting to try out a new art tool!
If you want to learn more about fountain pens, you can check out this awesome blog post!
Have you tried using a fountain pen before? What do you think makes them different from other types of pens? Let us know in the comments!