

A key feature that watercolour is known for is the transparency of the paint. The layers of watercolour paint we put down are translucent, and this allows the white of the paper to show through.
The transparent characteristic in watercolour is a defining factor for the medium.
Creating work in watercolour is shaped by this knowledge, and it’s something that can be used to the artist’s advantage to further a creative vision.
On the other hand, one layer of a watercolour wash isn’t enough for a comprehensive, fully developed piece.
It takes multiple layers of these watercolour washes—all of various sizes, shapes, densities, saturations, and colours— to create our watercolour pieces.
Knowing how and when to layer is a valuable bit of knowledge to have in the watercolour process.
What is Layering (or Glazing)?
Glazing slowly builds up watercolour layers, a little at a time, as the artist fully fleshes out their work. Typically, glazing (or layering) adds a new layer once the previous layers and washes have dried.
What’s the difference between a wash and a layer? It is a small, subtle difference, but it’s still important to know. Washes are usually the foundational layers of the painting.
Typically, they cover the entire surface of the painting, and they (usually) begin as a very light, very translucent layer of paint.
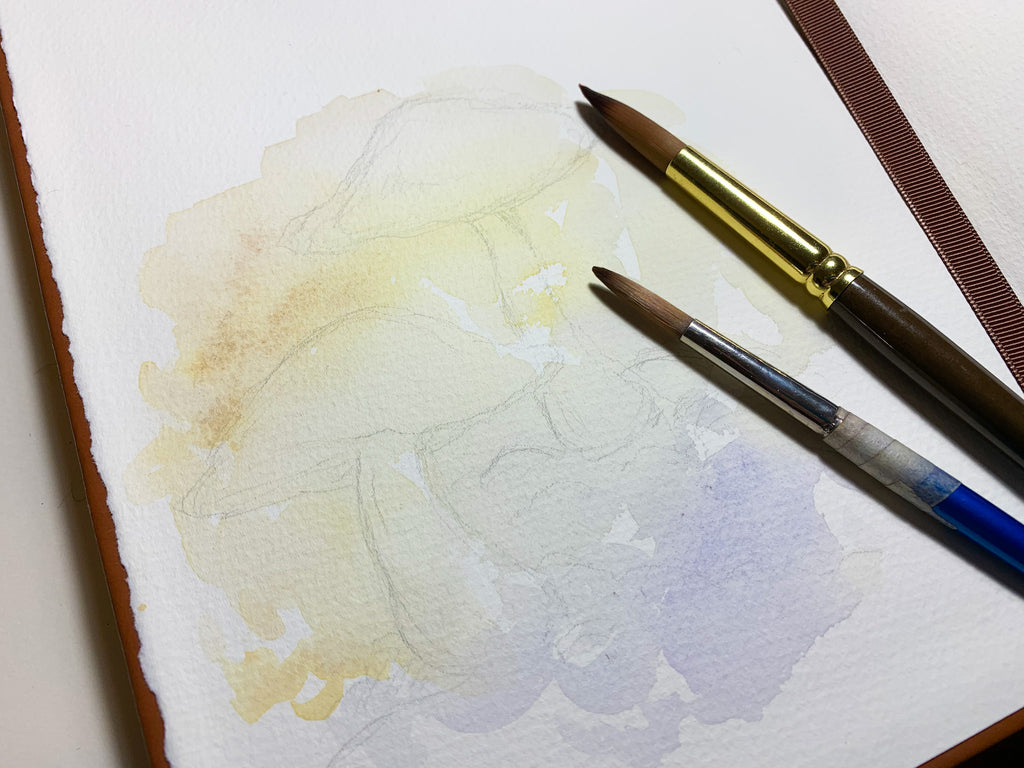
A wash can establish the mood of the piece by covering the paper in the light. For example, a pale yellow wash in an airy garden scene begins establishing a sense of spring, warmth, and sunlight.
The primary thing to keep in mind with washes is whether or not you add the next layer while it is dry or still wet.
Both have their advantages, and neither one is “better” or “inferior”. It depends on the artist’s style, how subtle or sharp they want the layers to be, and the atmosphere of what they are creating.
One can even balance the use of both “wet on dry” or “wet on wet” in a painting simultaneously.
Usually, the layers are built up with wet on dry. It’s a slow and steady method, but it gives one more control than they would otherwise have with wet on wet.
If the layers are allowed to dry before the new layers are added, they will be more distinct. This is a way to add detail, shadows, lighting effects, or even other objects (i.e. green leaves against a blue sky).
The Paper Changes How the Layering Outcomes

The quality of the paper and the paper press (i.e. is the texture smooth or toothed?) does a great deal to direct the outcome of the layers, how they build up atop of each other, and what effects they leave the artist with.
The quality of the paper is incredibly important. A layer can be hard to achieve if the paper is low quality or if it isn’t intended to handle washes of colour.
Using decent watercolour paper doesn’t have to be expensive, but it is important to one’s ability to layer the paint.
As well, whether the paper used is cold press or hot press makes a difference in the way the pigment in the watercolour granulates as it dries.
Experiment with both to see which is more suitable for your work and style, and which you find more appealing. Use this as your guide to watercolour paper labels.
Beginning with Subtle Layers

Since watercolour is a transparent medium, the likelihood of using layers is high. Unless there is a good reason for it, typically it’s always best that the first layers put down are light and translucent.
Putting down a dark, heavily saturated layer first can obscure the following layers. It’s virtually impossible to put light, airy layers on a dark layer of midnight blue or crimson red.
To avoid this, put down the lightest layers first, even if you have to use dark layers later on.
Working from light to dark in watercolour allows you to build up the layers without risking them becoming lost in the darker washes.
If you slowly build up the intensity of the layers, it allows you to add all of the details that are needed for the piece, and the range of colour and tone can be achieved properly as well.
Most paintings use contrast to some extent: there are light, mid, and dark tones. By slowly building up the layers from light to dark, it allows one to achieve all the tones that they envision for their painting.
Check out this article on tonal values and contrast to learn more.
A slow-building of layer upon layer, gradually darkening the objects that need more paint, also allows the painter to embellish the painting as is needed: few decorative swirls on a cookie jar, polka dots on a dishrag, crumbs on a table, the shadow of a tree and windowpane on the wall?
These details (and many others) are created by the patience that comes with slowly adding layer upon layer.
While each successive and individual layer is drying, one can consider adding texture to the layers and washes.
This can be done by splattering rubbing alcohol on a drying wash, or sprinkling sea salt crystals on the surface. It’s important to do this while the wash is still wet enough.
The granules of paint react to salt and alcohol, creating unique patterns.
The fact that layers are so important to creating a watercolour painting is no surprise, but it takes patience to work the layers out appropriately and to do it well.
If you liked that technique, you can find more fun ones in this article on easy and essential watercolour techniques for beginners.
Just like the details in acrylic and oil take time to build up, so it is with watercolour, too. The best way to understand how using layers is to begin working with layers one’s self.
We've got a wonderful post about the different types of water-based paints if you want to learn more!
Experiment with the various methods and papers: what does wet on wet look like on cold press verses hot press? What does dry on dry look like on the two, different presses? You can check out this post to see how the different techniques look on different types of paper.
The possibilities are endless when it comes to layering watercolour, textures, and presses!